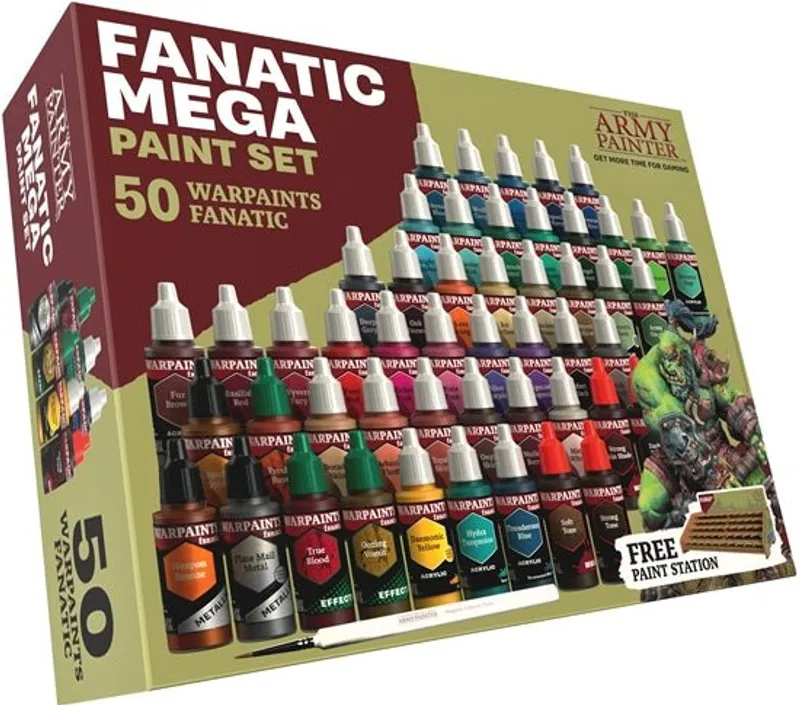
50 paints
Covers 9 of 11 colours in this scheme
Paint Picker is now Hobby Supermarket. Same site, same prices, same shops.
 HobbySupermarket
No gang colours, no uniform - a different palette on every model
Prices in $ for the US
One box of paints instead of 11 pots. Each card says how many of this scheme's colours it holds.
50 paints
Covers 9 of 11 colours in this scheme
71 paints
Covers 6 of 11 colours in this scheme
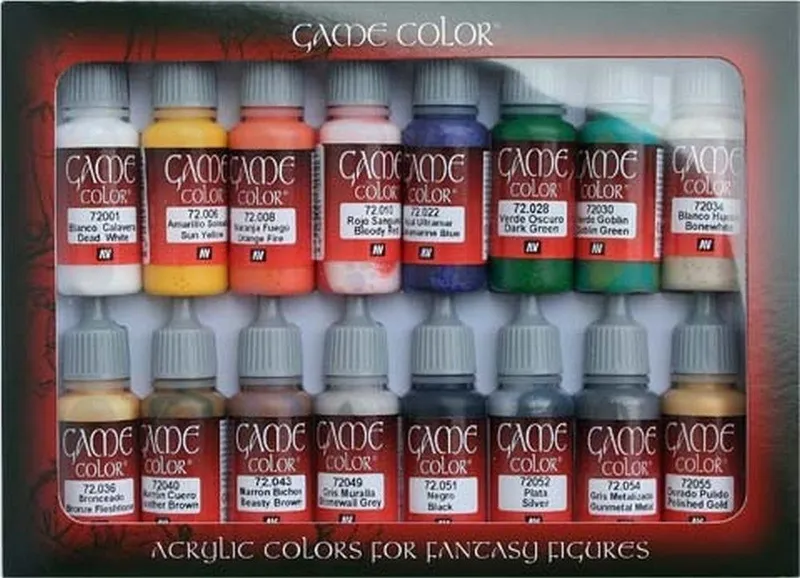
16 paints
Covers 5 of 11 colours in this scheme
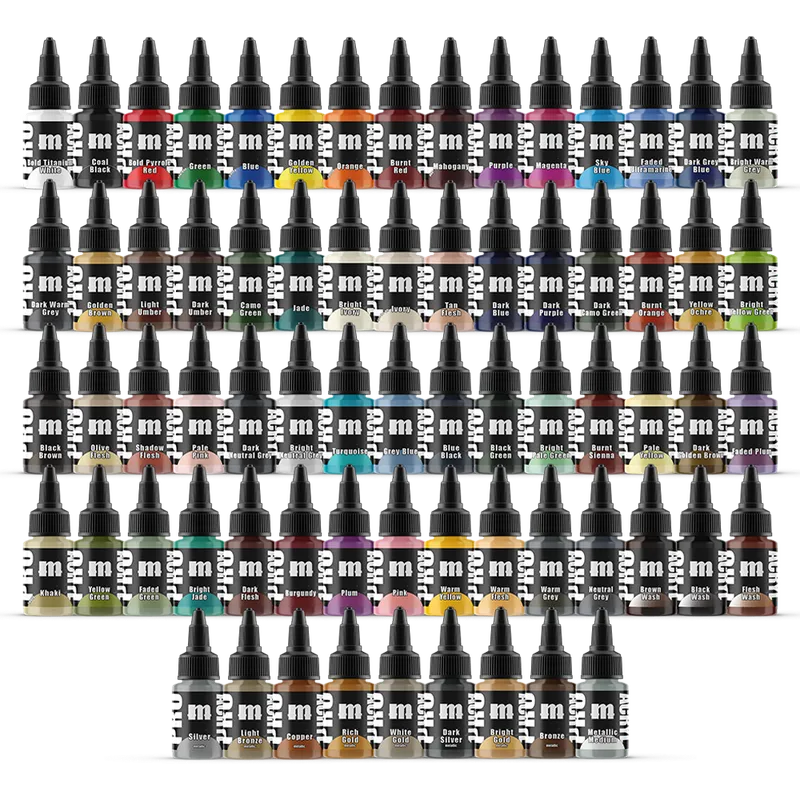
69 paints
Covers 4 of 11 colours in this scheme
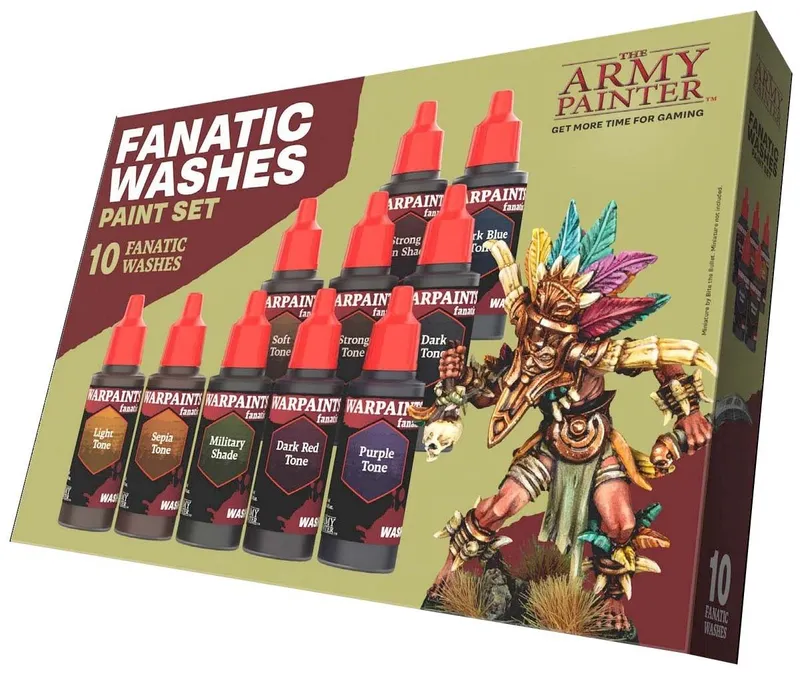
10 paints
Covers 3 of 11 colours in this scheme
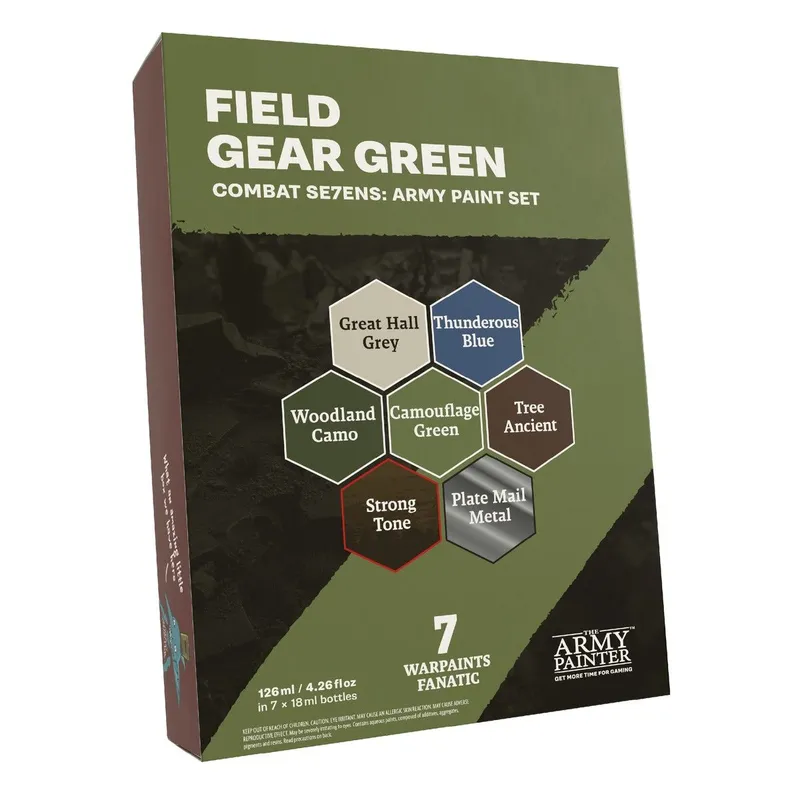
7 paints
Covers 2 of 11 colours in this scheme
Choose a faction in the bar above and this row shows its own boxes.
 General starter — not colour-specific
Skaven · 25 models · 2 kits
5× Stormcast Eternals Liberators · 20× Skaven Clanrats
 General starter — not colour-specific
Orks · 12 models · 4 kits
1× Space Marines Lieutenant · 5× Intercessors · 1× Ork Nob · 5× Ork Boyz
 General starter — not colour-specific
Death Guard · 14 models
7× Angels of Death Kill Team operatives · 7× Plague Marine Kill Team operatives
How the scheme reads on a model
Tap a colour to change its paint.
Lay the foundation colour down over primer, slightly darker than the final tone.
Citadel (Warhammer Paints) · Base 99189950279
Monument · Monument Pro Signature Series
Wash the recesses to add depth and separate the details.
Citadel (Warhammer Paints) · Shade 99189953084
Monument · Monument Pro Acryl 1-Step
Rebuild the main colour on the raised areas, leaving the shade in the cracks.
Citadel (Warhammer Paints) · Base 99189950299
★ Our pick for layer
Monument · Monument Pro Signature Series
Pick out the upper edges and surfaces that catch the light.
★ Our pick for highlight
Army Painter · Warpaints
No shop price tracked yet — the paint’s page has every seller we find.
Sharpen only the sharpest edges for a crisp, finished look.
Citadel (Warhammer Paints) · Layer 99189951331
★ Our pick for edge highlight
Everything else on the model - metals, skin, leather, lenses, basing and this faction's signature accents.
Aquilas, rims and ornament. Basecoat gold, wash with a brown shade, then edge a brighter gold.
Army Painter · Warpaints
No shop price tracked yet — the paint’s page has every seller we find.
★ Our pick for metal — trim
Citadel (Warhammer Paints) · Base 99189950310
Bolters, blades and casings. Dark gunmetal, washed black, edged with bright steel.
Army Painter · Warpaints Fanatic
★ Our pick for metal — weapons
Monument · Monument Pro Signature Series MPA-S42
Straps, holsters and bare wood. Mid brown, shaded, then drybrushed a lighter tan.
★ Our pick for leather & pouches
Monument · Monument Pro Signature Series MPA-S25
Faces and hands. Basecoat, a flesh wash into the recesses, then build the highlights back up.
Citadel (Warhammer Paints) · Layer 99189951243
★ Our pick for skin & flesh
Army Painter · Warpaints
No shop price tracked yet — the paint’s page has every seller we find.
Lenses, eyes and energy. A bright spot colour that pops against the armour - dot it on and add a white glint.
Closest paint we sell — not an exact match for this colour
★ Our pick for eyes & lenses
Citadel (Warhammer Paints) · Layer 99189951308
Monument · Monument Expert Acrylics
Groundwork. Earth basecoat, drybrushed bone, finished with your choice of grass, sand or snow.
★ Our pick for basing — earth
Tick off what's already on your shelf — whatever's left is your shopping list.
11 paints in this scheme
postage per seller
prices shown on Amazon at checkout
$6.99 US delivery, 3-5 business days
$10 US delivery, 4-8 business days, free over $75
postage by parcel weight and destination, shown at checkout — no free-shipping threshold
totals excl. delivery · affiliate links
Citadel (Warhammer Paints) · Base 99189950299
Citadel (Warhammer Paints) · Layer 99189951331
Army Painter · Warpaints
No shop price tracked yet — the paint’s page has every seller we find.
Army Painter · Warpaints Fanatic
Citadel (Warhammer Paints) · Layer 99189951243
Every Hired Guns & Hangers-on kit and box, priced
Prices compared across the shops that stock them — boxes ranked by cost per model.
Every other entry in this section is a gang. This one is not. Bounty hunters, hangers-on, brutes, exotic beasts, hive scum, dramatis personae and Merchant Guild delegations belong to no House - the rules sell them as models any gang may hire, and Games Workshop's own copy is explicit that the ex-Orlock and ex-Goliath hunters left their House allegiances behind them.
So there is no gang colour to get right, and no batch to keep consistent. What you have instead is a shelf of one-off characters, bought a model or two at a time, and a different painting problem: how do you make forty unrelated individuals look like they inhabit the same world?
The answer is not a shared colour. It is a shared texture.
Scavenged. Everything a hired gun wears was taken from somewhere else and has been repaired at least once: a weathered olive-drab coat over mismatched armour plates, webbing and kit-bags in three different browns, a weapon better maintained than anything a ganger carries, and dust from the boots to the knee. The olive drab is the closest thing this heading has to a colour, and it is a default rather than a rule - a coat, a bedroll, a satchel, a scrap of tarpaulin.
Where a gang reads as a uniform, these should read as a profession. The gear is good. The clothes are whatever was to hand.
Follow these and every character can have a completely different palette without the collection falling apart.
The recipe most of these models want somewhere on them.
Vallejo painters can run US Olive Drab into Khaki; Army Painter Fanatic runs Olive Drab into Desert Yellow. Either sits in the same family.
The fast route: undercoat Wraithbone, one coat of Militarum Green or Creed Camo contrast, then re-highlight the top of each fold with Karak Stone. On a heavily draped model the contrast pools exactly where you would have shaded.
Half of every hired gun is straps. Vary the browns deliberately - a leather coat, a canvas satchel and a webbing belt should not be the same colour, because nothing on the model was bought together.
Contrast routes over Wraithbone: Snakebite Leather for tan, Wyldwood for dark leather, Skeleton Horde for canvas and rope. Three different pots over one undercoat is the whole variety problem solved in an evening.
This is the detail that sells the profession. A ganger's gun is battered; a bounty hunter's is maintained.
Brass and bronze fittings, of which there are many: Warplock Bronze, shade Agrax Earthshade, edge Sycorax Bronze. For anything that should look valuable rather than industrial - a Guild delegate's chain of office, a trophy - Balthasar Gold into Runelord Brass.
This heading has more non-human models than any other in the game, which is a gift when you are trying to make individuals.
The trick that makes a shelf of drab characters look deliberate rather than muddy: one saturated colour per model, and a different one each time. Keep it to a small area - a rag, a hood lining, a holster, a bedroll, a length of hazard tape, a lens.
Wild Rider Red on one. Baharroth Blue on the next. Moot Green, Jokaero Orange, Xereus Purple, Flash Gitz Yellow - work down the list and do not repeat until you have to. The bright note is also where you place the eye, so put it near the head or the weapon hand.
Psychic and wyrd characters get theirs as a glow instead: Kantor Blue at the base of the effect, Calgar Blue through the middle, Baharroth Blue near the edge, and a thin White Scar line at the very edge, with a faint glaze of the same blue onto whatever the glow sits against. Tesseract Glow does the one-coat version on small optics and vials.
These arrive one or two at a time, which means you can finish each one properly and still keep pace with your gang.
An hour or two, and it stands next to a fully layered gang without looking rushed - because on a single character the eye goes to the face and the gun, and you painted both of those properly.
These are our editorial recipes rather than an official scheme - there is no studio palette for a heading whose whole premise is that nobody owns it. Browse every kit in the range, the rest of the underhive in the Necromunda paint list, and when your drab is where you want it, open the scheme in the generator to swap brands or push the coat greener.
Recipes are generated by perceptual colour matching against our cross-brand paint database. Use them as a strong starting point and test paints in person when precision matters.


