
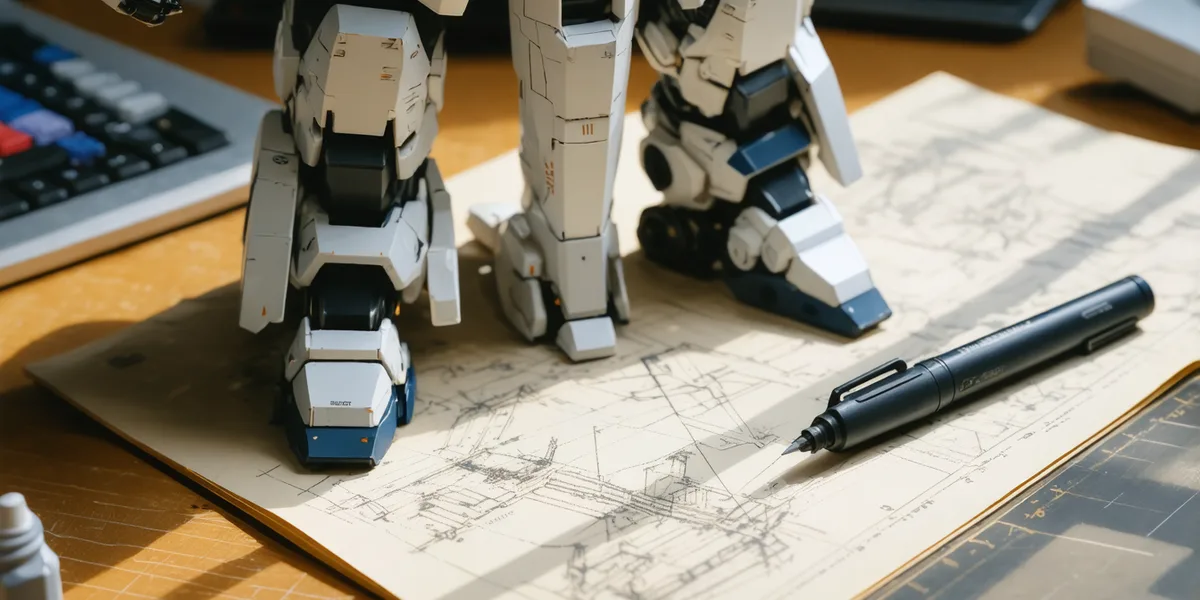
Panel lining means running a thin, dark wash into the engraved lines on a kit so the panels read as separate plates. On a straight-built Gunpla it is the single change that makes the most difference for the least work, and a top coat afterwards seals the lines and the stickers and takes the plastic shine off. You need one bottle of panel liner, some cotton buds and, at the end, a can or bottle of varnish.
These are the panel liners the shops we compare sell in your market:
Mig
Mig
Mig
Tamiya
AK Interactive
AK Interactive
AK Interactive
AK Interactive
Which panel liner to use
Most panel liners for scale models are enamel washes, and three ranges are on our shelves:
- AMMO by Mig Jimenez Panel Line Wash. The retailer SnM Stuff describes them as "enamel washes", "Supplied in 35ml bottles," for "soft washed panel lines on aircraft, vehicles, ships, spacecraft." In the range are Black Night, Deep Brown, Neutral Brown and greys.
- Tamiya Panel Line Accent Color. Tamiya's own page says "One bottle contains 40cc enamel paint" and "The bottle's cap features a brush for easy application." Tamiya make it in several colours, including black, brown and greys.
- AK Interactive Precision Panel Liner. Enamel liners in several shades, including dark brown, sepia and light grey.
The colour matters more than the brand. Black is right for dark parts and for most grey and blue armour. On white and light grey parts, black lines look drawn on, so a grey or a brown is the more natural line. Many builders keep two bottles: black for the dark parts and a grey for the white ones.
Gundam Marker panel liners
Gundam Marker pens are the other common way to panel line, and they are popular with first-time builders because there is no wash to wipe back. The panel lining markers are now listed by shops we compare in some markets, and are priced in the best paint for Gunpla. Where they are not, the enamel liners above do the same job, and a fine brush with a dark acrylic wash works too (below).
Mr Hobby
Mr Hobby
Mr Hobby
How to panel line, step by step
- Build the kit first, or at least the part. Lines are easier to wipe on a finished part held in the hand, and you can see which ones show.
- Touch the brush to the line, do not paint along it. An enamel liner is thin enough to run along an engraved line by itself. A drop at one end of a line will flow most of the way.
- Let it sit for a few minutes, so it is no longer wet but has not hardened.
- Wipe across the line, not along it, with a cotton bud or a folded tissue, damp with a little enamel thinner. Wiping across leaves the wash in the recess and lifts it from the flat surface.
- Clean up the rest with a bud and a touch more thinner, then leave the part to dry before you top coat.
Use as little thinner as you can, and keep it out of joints and other parts that are under strain. Builders warn that enamel thinner soaked into stressed plastic can make it brittle and crack, so a lightly damp bud is safer than a wet one, and a part with a tight peg is better lined after it is fitted than before.
Tamiya write their accent colour for use over "Tamiya Color lacquer or acrylic paints." On bare plastic the wash can stain the surface more readily, which is one reason many builders spray a coat of gloss or satin varnish first: the wash flows better over a smooth coat and wipes off more cleanly.
An acrylic alternative
If you would rather not use enamel thinner at all, a dark acrylic wash brushed carefully into the lines works. It does not wipe back as easily once dry, so work one part at a time and tidy with a damp brush before it sets. Vallejo's Black Wash is one of their Game Color washes.
Our washes and shades guide covers acrylic washes in more depth.
When a scriber helps
A scriber cuts a groove into plastic. Use one to deepen a shallow line so the wash has somewhere to sit, or to add panel lines a kit does not have. Take light passes: two or three shallow strokes are easier to control than one deep one.
Top coat: sealing the kit
A top coat is a clear varnish sprayed or airbrushed over the finished kit. It does three jobs: it seals the panel lines and stickers so handling does not rub them off, it hides the light-coloured marks where parts were cut from the runner, and it gives the whole kit one finish instead of shiny plastic.
Choose the finish by the look you want:
- Matt (flat) takes all the shine off. It makes the kit read as a model rather than a toy, and hides nub marks best.
- Satin (semi-gloss) keeps a soft sheen, which suits armour.
- Gloss is for a shiny finish, or as the smooth coat under a panel line wash.
Spray cans
A spray can is the simplest way to top coat a whole kit. Spray in light passes from a distance, let each coat dry, and do it somewhere well ventilated.

Matt anti-shine topcoat, 400ml aerosol
Army Painter
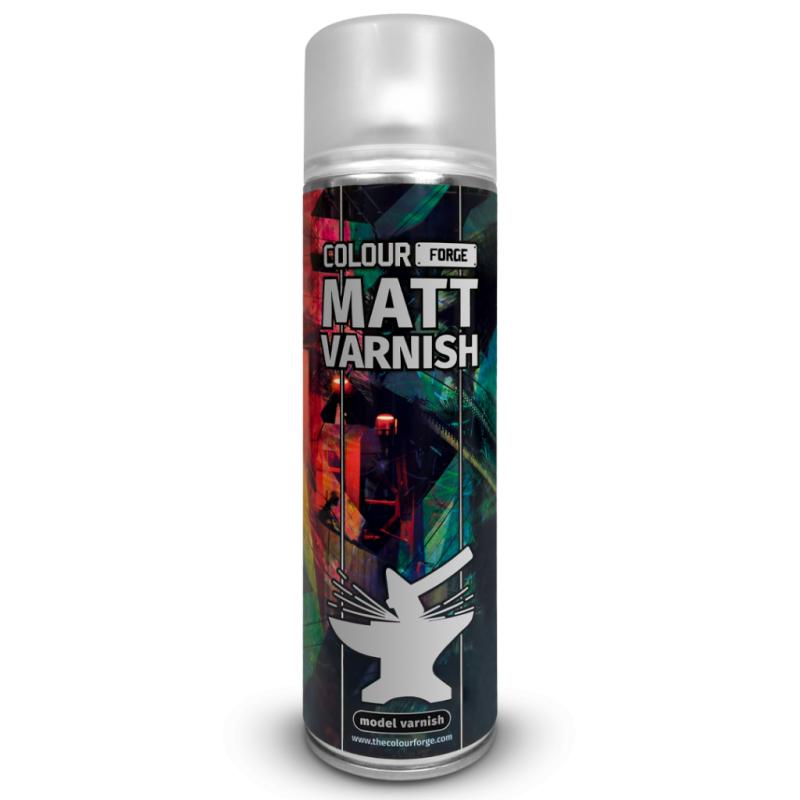
Matt clear coat sprayed over a finished paint scheme to protect it and kill shine · 500ml aerosol · Matt · United Kingdom · TCF-SPR-004 · 5060843100959
Colour Forge

Matt protective topcoat, aerosol · MPAR-V01
Monument
Bottles, for an airbrush or a brush
With an airbrush, a bottled varnish gives more control over how much goes on. Vallejo make Mecha Varnish in matt, satin and gloss as part of their Mecha Color range for mecha kits. Mr Hobby's Super Clear varnishes belong to their Mr Color range.
Vallejo
Vallejo
Vallejo
Vallejo
AK Real Colors
Varnish goes on last: build, panel line, apply stickers or decals (our water slide decal guide covers those), then top coat. If you used a gloss coat under the panel lines, the matt or satin coat goes over everything at the end.
Tips
- One bottle of panel liner is enough to start. Black covers most kits; add a grey for white armour.
- Wipe across the line, never along it.
- Keep thinner off joints. A damp bud, not a wet one.
- Top coat after the stickers, so the varnish seals them too.
- Test on a runner tag or an inside face before you spray a finished part.
For the rest of the kit, our Gunpla tools guide covers nippers and sanding, the best paint for Gunpla covers markers, acrylic and lacquer, and Gunpla grades explained helps you choose the next kit.
Shop panel line washes
Panel line washes and varnishes, compared across every shop we track.
We earn a small commission from qualifying purchases at no extra cost to you.