
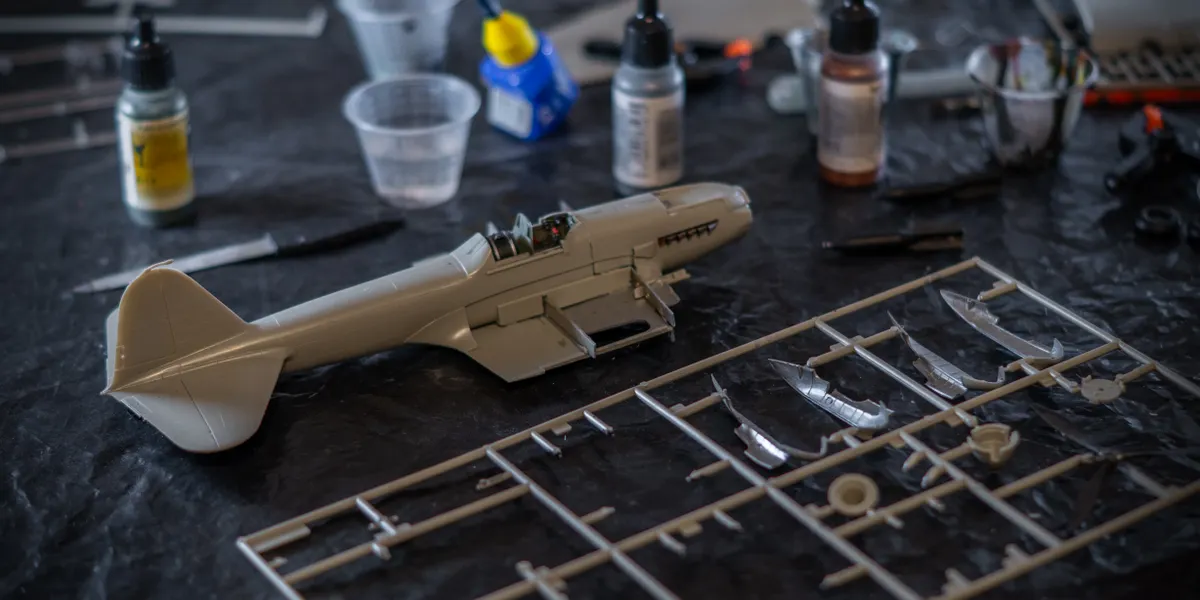
A High Grade Gunpla kit needs one tool: a pair of nippers to cut the parts from the runner. Everything else on this page makes the finished kit look cleaner, and you can add it kit by kit. (An Entry Grade needs nothing at all: Bandai design its parts to come off the runner by hand, as our grades guide explains.)
Start with nippers. These are the ones the shops we compare sell in your market:
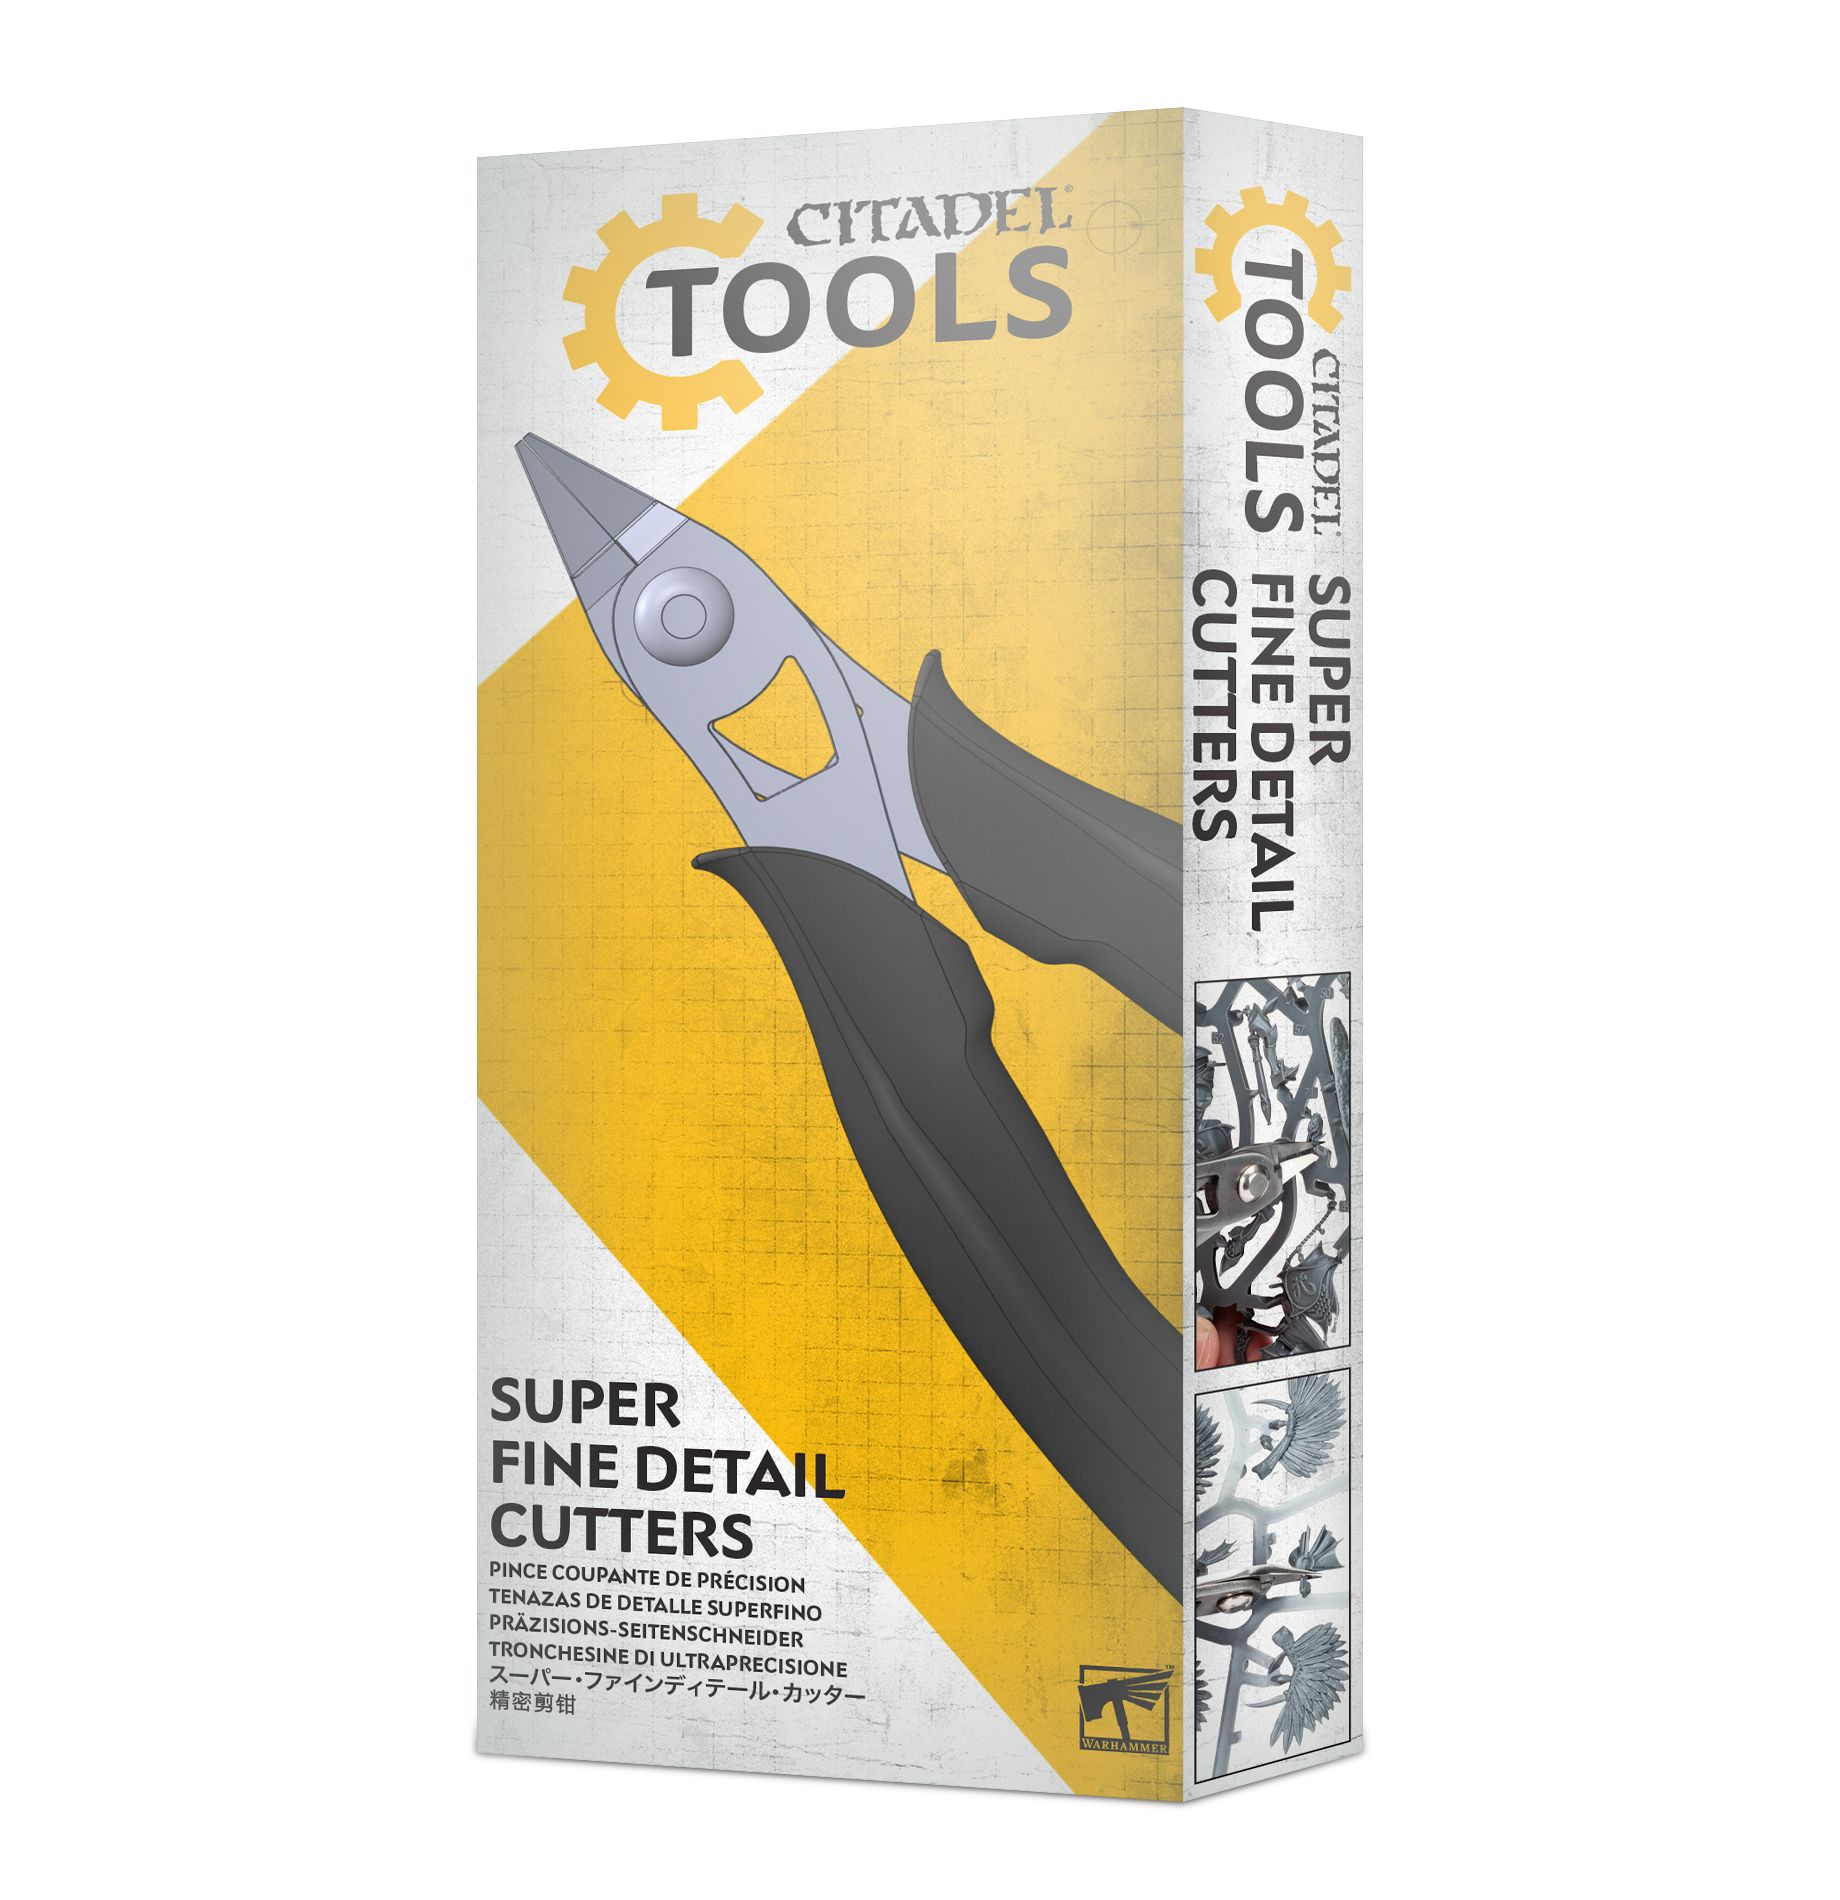
Fine sprue cutters for plastic kits
Citadel
Every cutter we price is on our cutting and prep shelf.
The shops we compare in this market do not sell nippers yet, so the cutter cards on this page are empty here. A hobby knife is the one tool on this page every market can buy.
The short list
| Tool | Do you need it? | What it does |
|---|---|---|
| Nippers | Yes, for anything above Entry Grade | Cuts parts off the runner |
| Hobby knife | Strongly recommended | Shaves the leftover nub flush |
| Sanding sticks or files | Recommended | Smooths the white mark the cut leaves |
| Panel liner | Optional, but the biggest visual change | Darkens the engraved lines |
| Top coat | Optional | Seals stickers and lines, takes the shine off |
| Tweezers | Optional | Places small stickers and decals |
| Cutting mat | Optional | Protects the table from the knife |
Nippers
Gunpla nippers are small side cutters with thin jaws, made for soft plastic runners. Bandai sell their own as the Entry Nipper and the Build Up Nipper, and most hobby brands make a pair. What separates a good pair is how flat a face it leaves on the part: a single-blade (flush) nipper cuts one side flat against the part, where a double-blade pair squeezes the plastic and leaves a pale, stressed stub.
Our sprue cutter guide goes through single-blade against double-blade, what GodHand nippers do, and how to keep a fine blade from chipping.
Cut twice. Cut the part off a few millimetres away from it first, then trim the leftover nub close to the part with a second cut. Cutting tight against the part on the first go is what leaves stress marks.
A hobby knife
A sharp knife takes off the last sliver of nub that the nippers leave, and scrapes away any mould line. Shave towards the part's surface in light strokes rather than digging in, and change the blade as soon as it drags. Our hobby knife guide compares the knives.
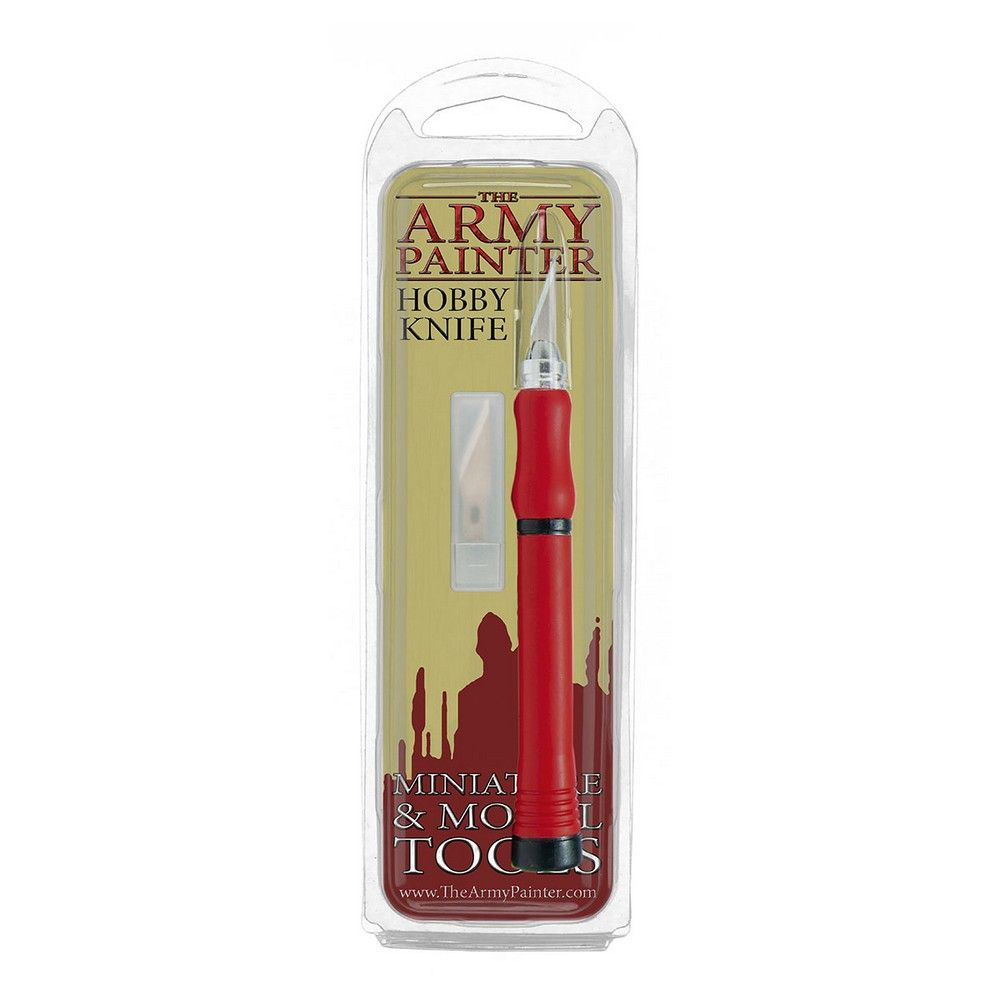
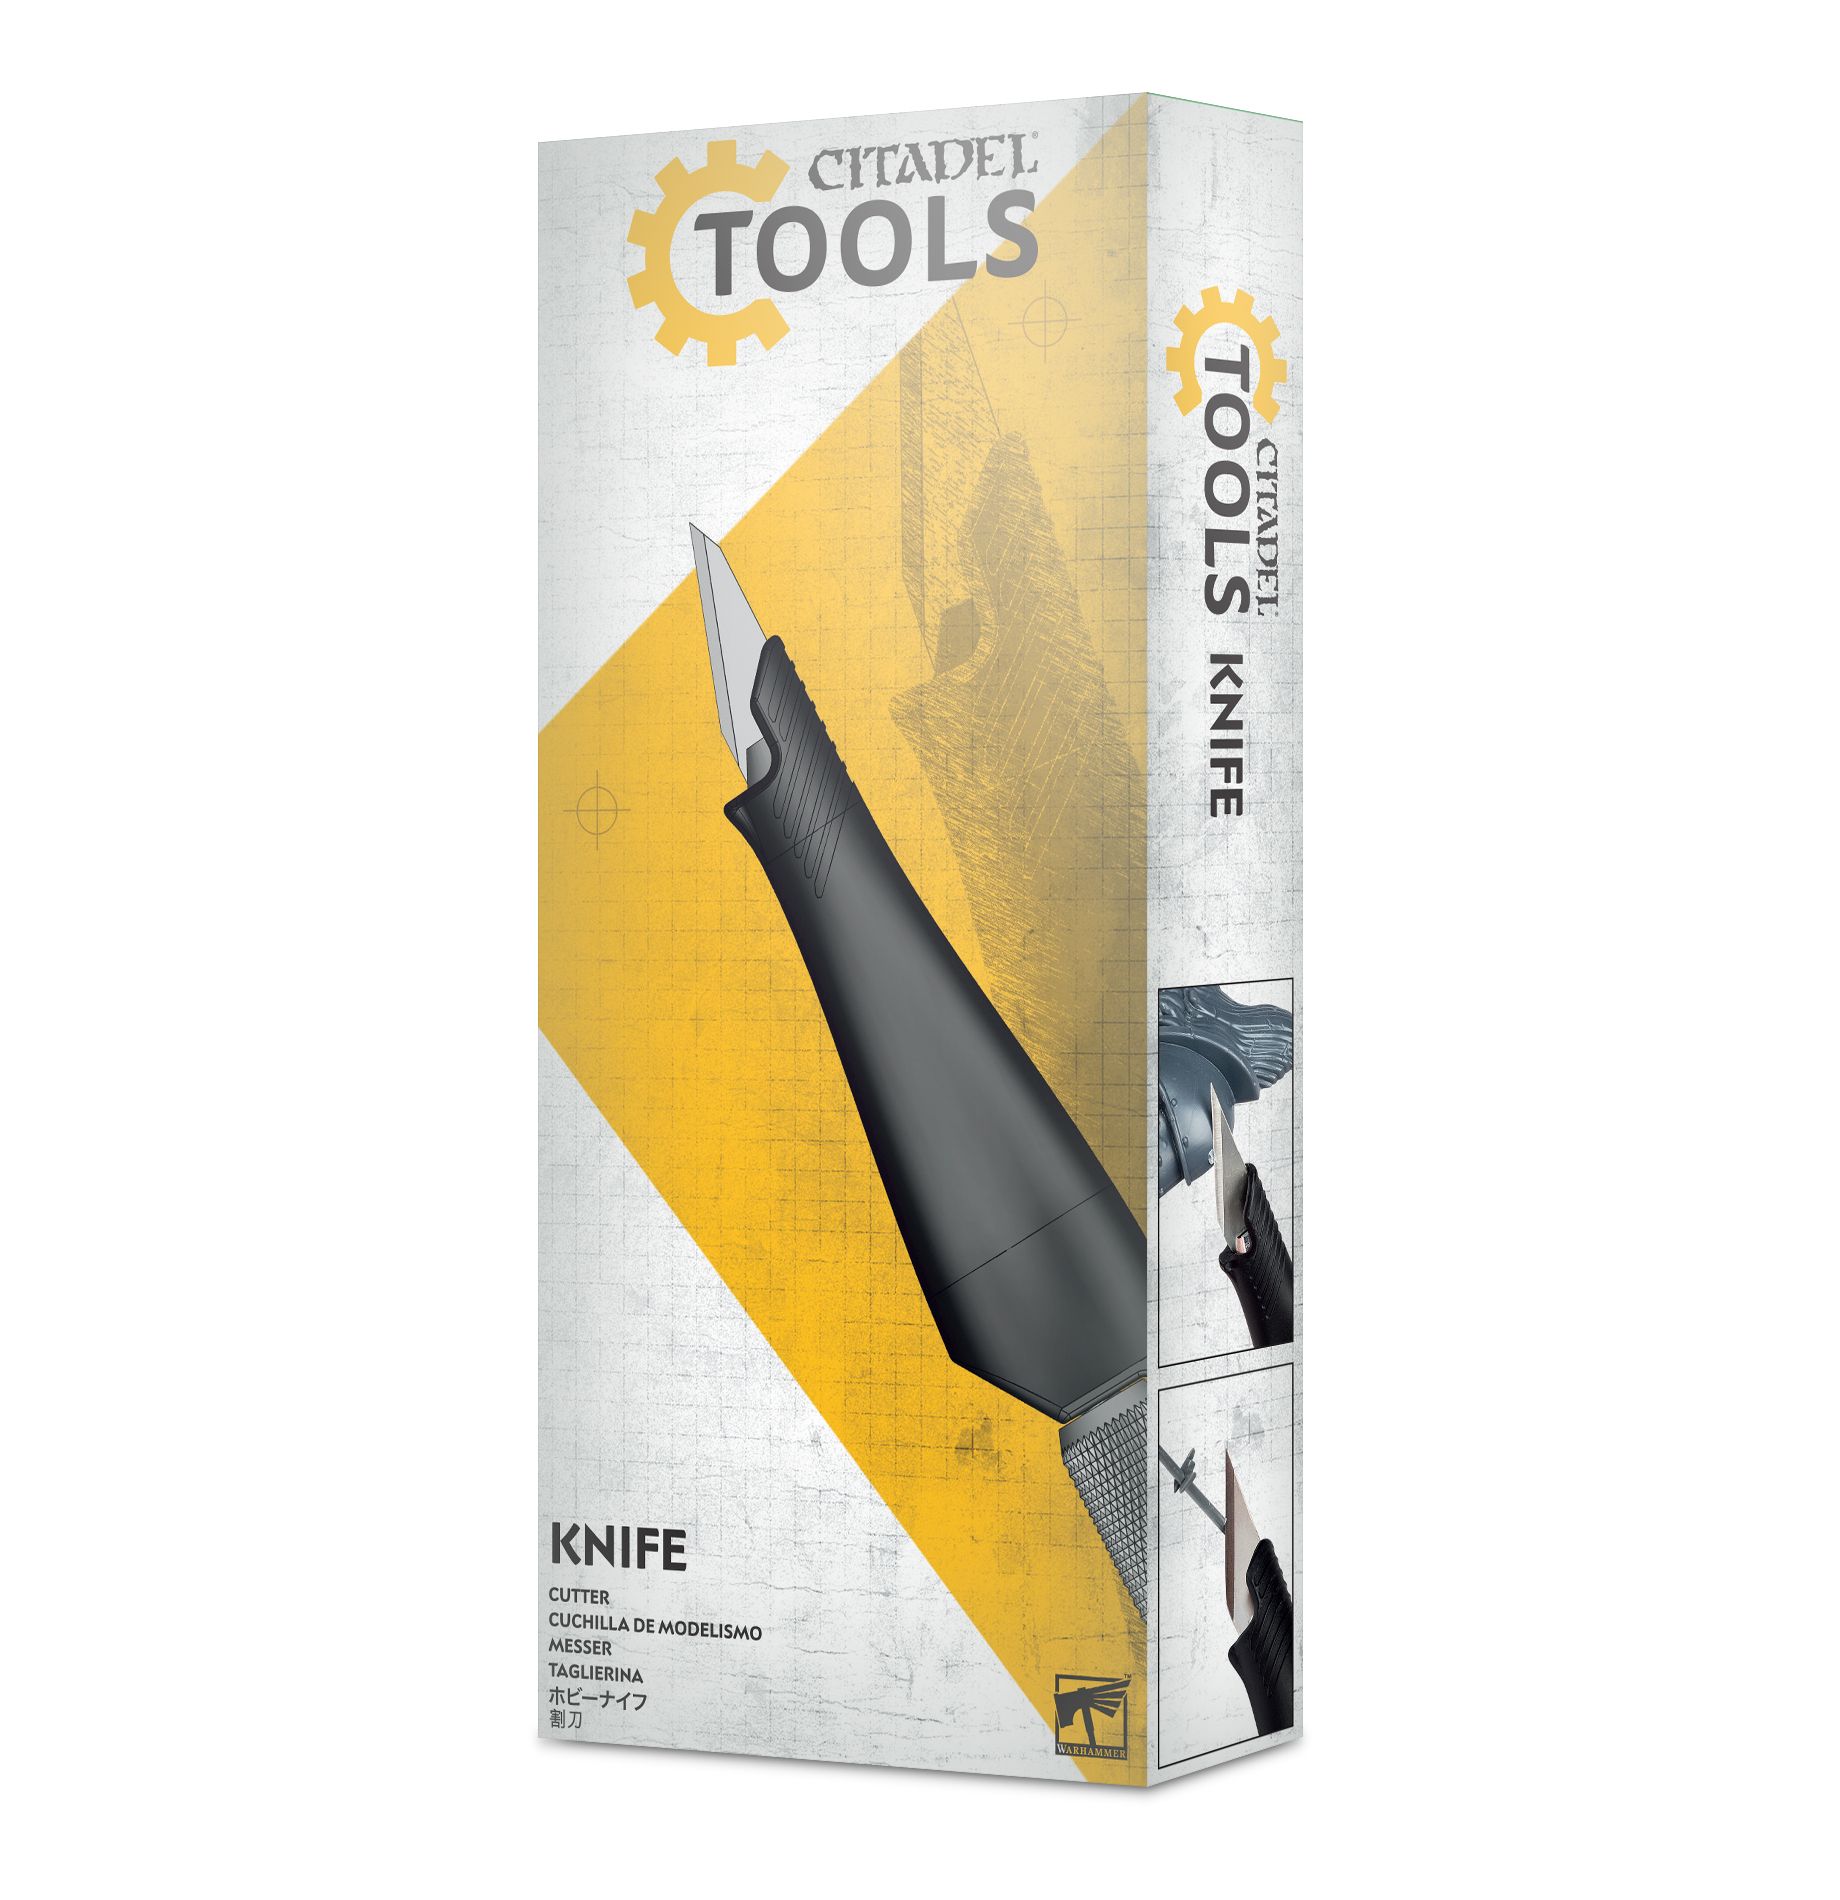
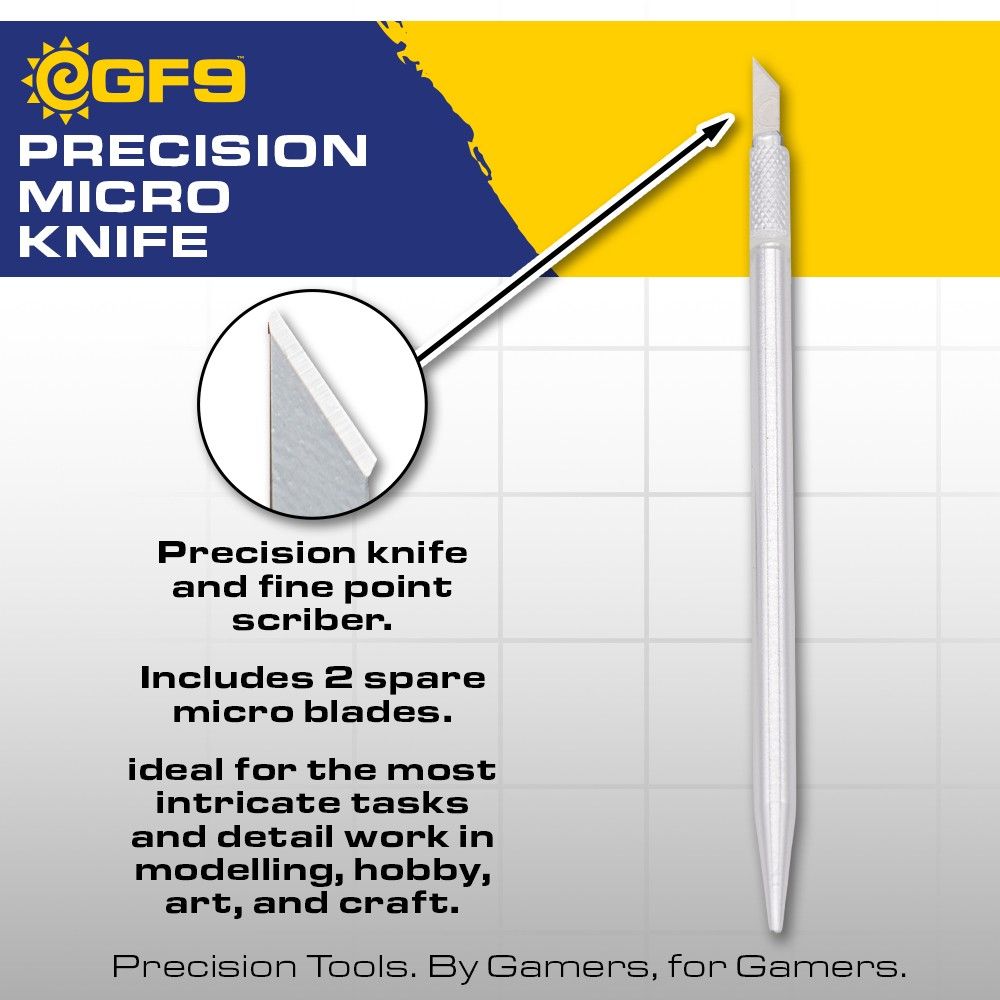
Fine micro knife for detail cutting
Gale Force Nine
Sanding: the white marks
Where a gate is cut, coloured Gunpla plastic often goes white. Sanding the spot smooth, working up from a coarser grit to a finer one, removes most of the mark, and a matt top coat hides what is left. Sanding sticks and foam pads are easier to keep flat on a part than loose paper.
Gunprimer also sell a dedicated gate remover, the Raser, as a starter kit with its abrasives. It is a tool for builders who already do a lot of kits.
Panel lining and top coat
These two finishing steps make more difference to a straight build than any other tool. Panel lining runs a dark wash into the engraved lines; a top coat seals it and takes the plastic shine off. Both have their own guide: how to panel line Gunpla, and top coat it, with every panel liner and varnish we price. To paint the kit itself, with Gundam Markers, acrylic or lacquer, see the best paint for Gunpla.
Tamiya
AK Interactive
Tweezers and a cutting mat
Tweezers help with small stickers and water-slide decals, and a self-healing mat stops the knife marking the table. Neither is essential for a first kit.
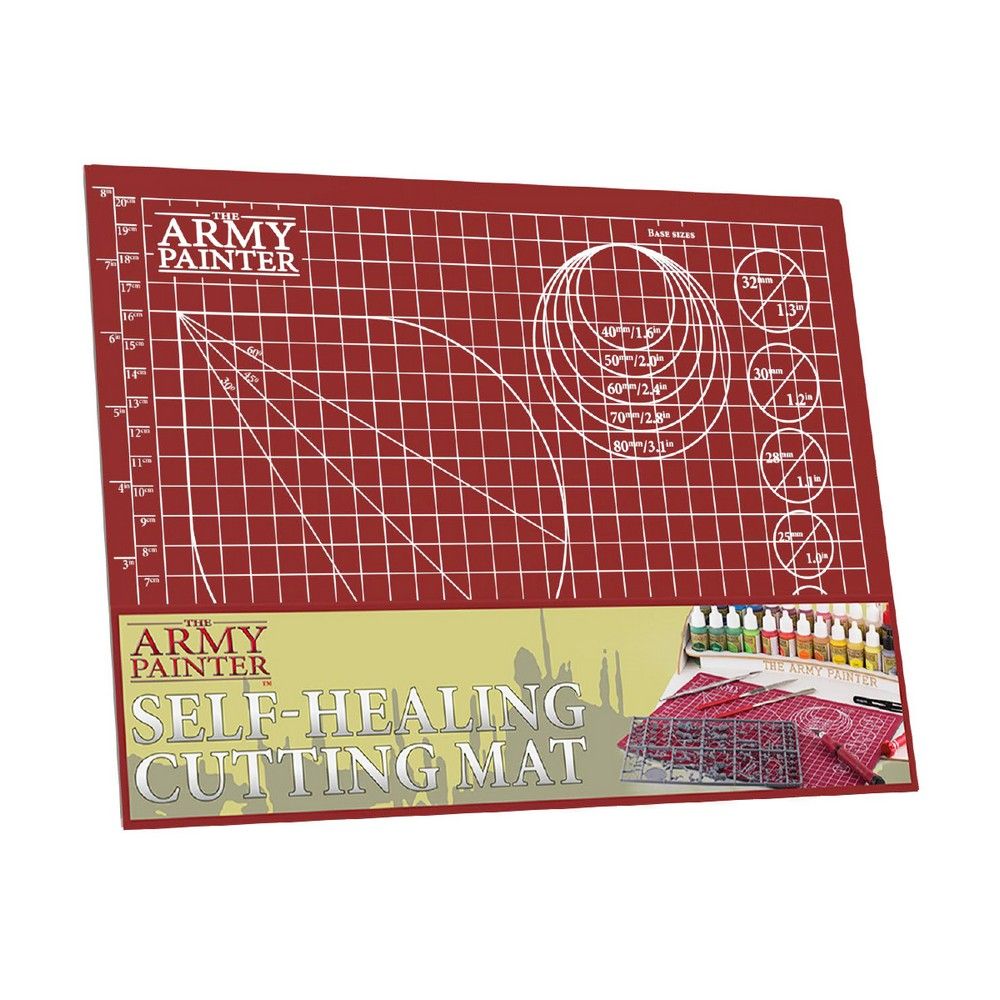
Self-healing cutting mat
Army Painter
What you do not need yet
- Glue. Gunpla snaps together. Glue is only for modifying parts.
- Paint. The plastic is moulded in colour, and on most kits the stickers do the rest.
- The most expensive nippers. A single-blade pair is what a first kit needs; the dearest pairs can wait.
Tips
- Buy nippers before anything else.
- Cut twice: once away from the part, once close to it.
- Sand the white marks, then top coat. The two together hide gate marks best.
- Keep fine nippers for plastic. Metal and thick runners chip a thin blade.
Shop Gunpla tools
Nippers, files and finishing tools, compared across every shop we track.
We earn a small commission from qualifying purchases at no extra cost to you.