
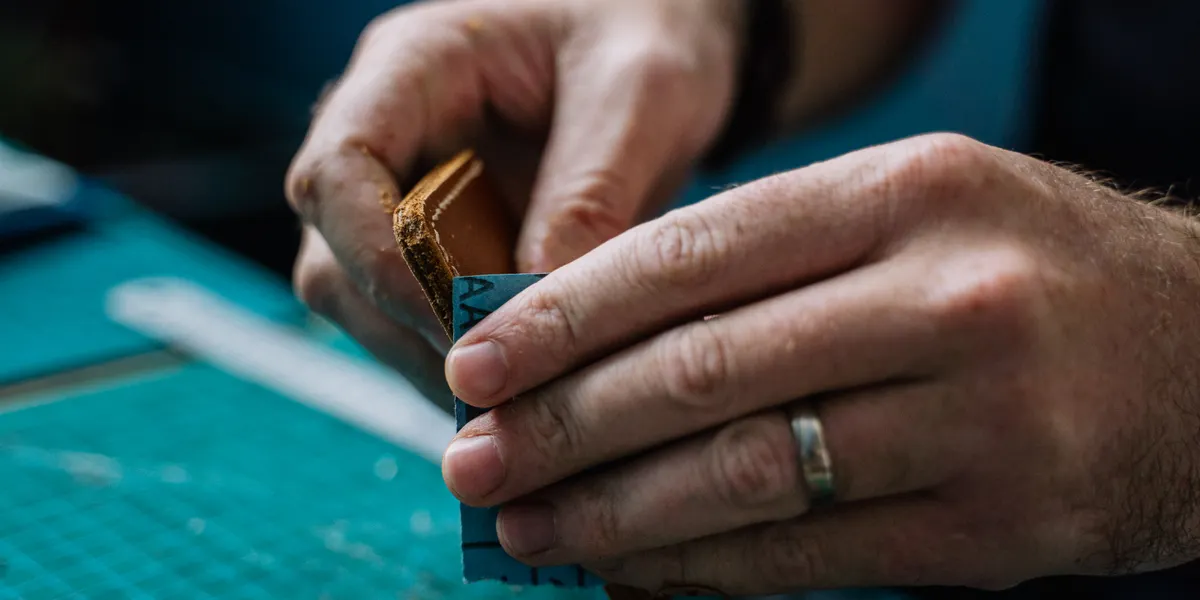
To smooth a 3D print, sand it in stages from a coarse grit to a fine one, then spray a filler primer to fill the layer lines the sandpaper did not reach, and sand that smooth. Sand PLA wet so the heat of the friction does not soften it, and sand resin wet so its dust stays out of the air. These are sanding sticks, pads and files sold by the shops we track:
Before any sanding, the supports come off. Flat-jawed cutters leave the smallest nub, and a hobby knife pares off what is left:
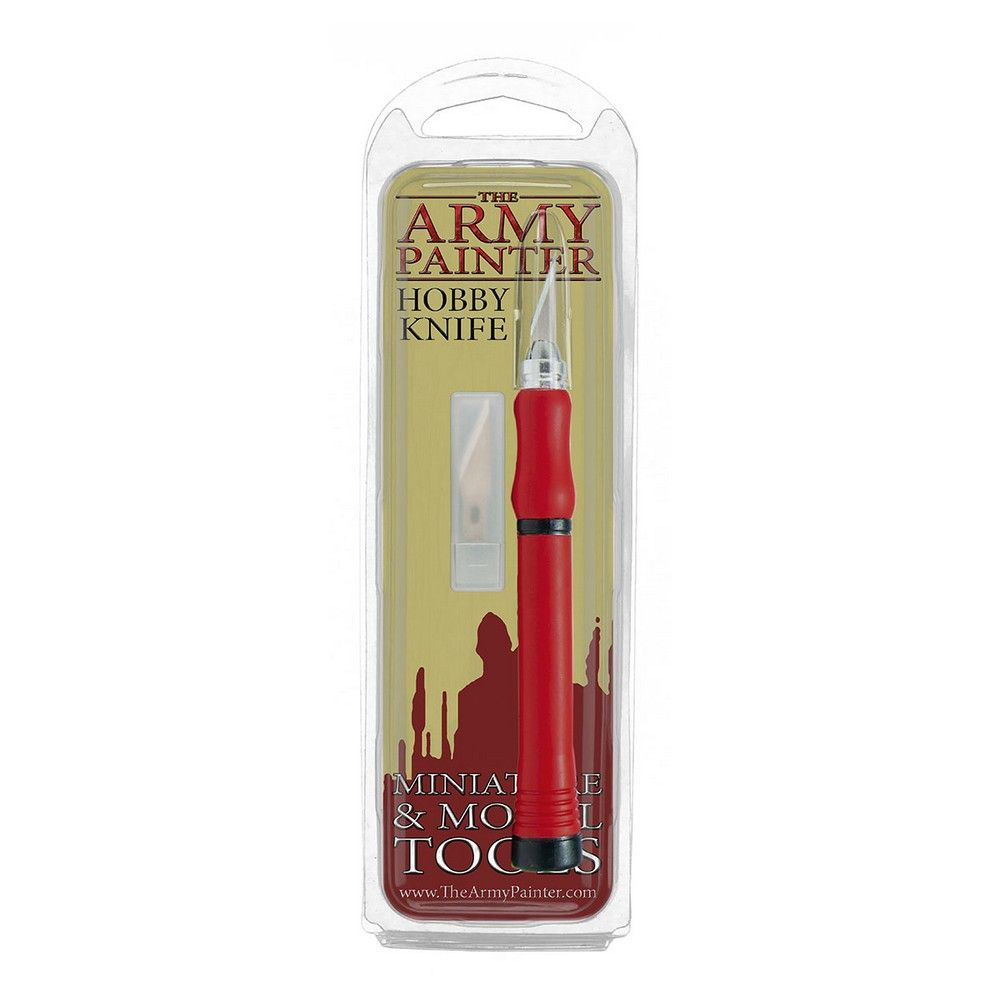
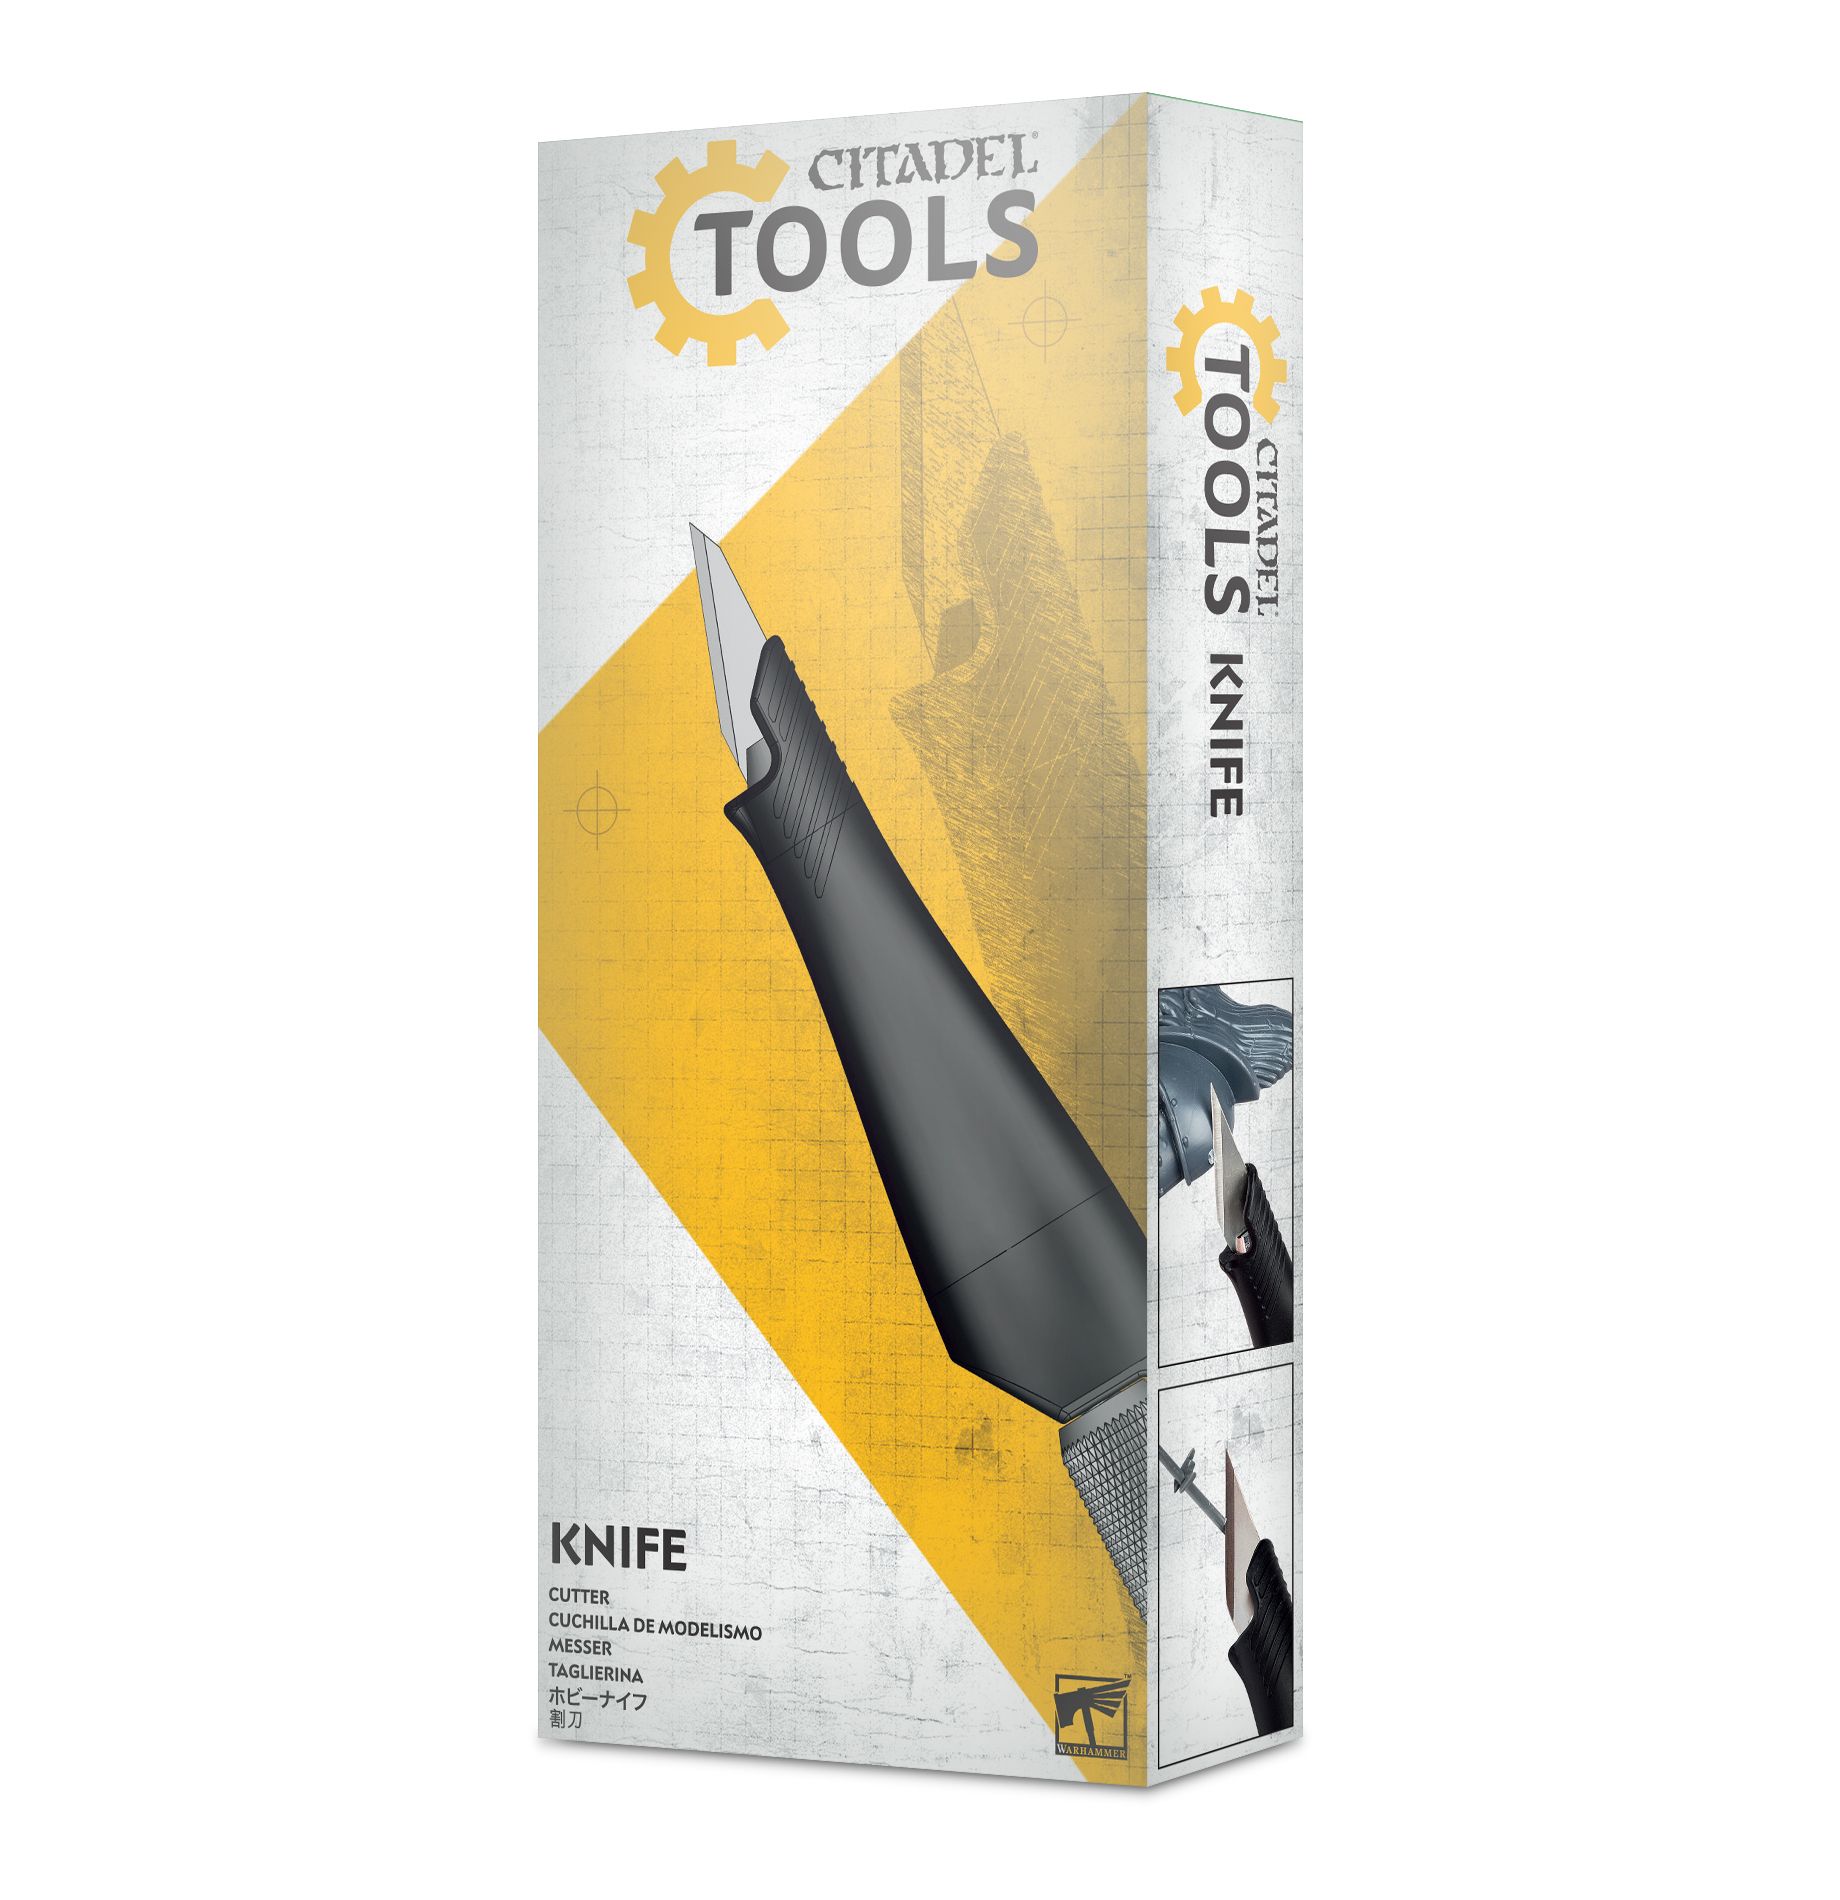
The shops we compare in this market do not sell sanding tools yet, so the sanding cards on this page are empty here. The hobby knives and the primers further down are sold in this market, and any hardware shop's wet-and-dry sandpaper does the same job as the hobby sticks.
Every sanding stick, pad and file we price is on our cutting and prep shelf.
Post processing 3D prints, in order
- Remove supports with flush cutters or a hobby knife. Cut close to the surface and leave a small nub rather than gouging into the print.
- Sand the support marks and any blemishes with a coarse grit until they are level.
- Sand smooth through finer grits, removing the scratches of the grit before.
- Fill gaps, seams and deep marks with putty, or with superglue and filler powder.
- Filler primer: spray, let it dry, sand it back, and repeat until the layer lines are gone.
- Prime and paint: see how to paint 3D prints.
Not every print needs every step. Rough textured terrain, such as stonework you will drybrush and weather, rarely needs more than step 1 and a coat of primer, because the texture disguises faint lines. Flat walls are different: a wash settles into layer lines and shows them up. A smooth vehicle panel, a helmet prop or a display piece is where the full sequence earns its time.
Which grit to use
The higher the grit number, the finer the abrasive. A common progression for 3D prints:
| Grit | Job |
|---|---|
| 120 to 240 | Support nubs, blobs, zits and a deep seam |
| 320 to 400 | Knocking back layer lines on a flat wall; smoothing filler |
| 600 to 800 | Removing the scratches from the coarser grits before priming |
| 1000 and finer | A smooth surface for gloss paint or polishing |
Move to the next grit only once the scratches from the last one are gone; sanding with a fine grit cannot remove a deep scratch from a coarse one. A sanding stick or block keeps flat surfaces flat. Foam pads and sponges follow curves. Needle files reach into corners and along edges where paper cannot.
How to sand PLA without melting it
PLA softens at a low temperature, and dry sanding makes heat. Sand too fast on one spot and the plastic smears and balls up instead of turning to dust. Prusa's guidance is that PLA sanding needs water cooling. So:
- Wet sand with wet-and-dry paper: dip it in water often, or keep the print damp.
- Light pressure, long strokes, moving around the part rather than working one spot.
- Rinse the paper when it clogs.
PETG is tougher and gummier than PLA and can be harder to sand cleanly; the same approach of wet paper and light pressure applies. ABS and ASA sand easily dry.
A rotary tool speeds up removing big blobs and seams, but run it at a low speed on PLA, for the same reason: too fast and the plastic melts rather than cuts.
Filler primer for 3D prints
Filler primer (also sold as primer and surfacer, or microfiller) is a thicker primer that fills fine scratches and layer lines. It is the fastest way to a smooth surface on a big print:
- Sand out the support marks and anything deep first. Filler primer fills lines, not gouges.
- Spray a light, even coat. Several thin passes fill better than one heavy one, which runs.
- Let it dry fully, then sand with 400 to 600 grit. The filler stays in the low spots and comes off the high ones.
- Repeat until the lines no longer show, then prime in your base colour.
A coat of ordinary grey primer does a similar job as a guide coat: spray it, and every line, scratch and pinhole you missed stands out before the colour goes on. Our spray primer guide compares the cans.
AK Interactive
Citadel (Warhammer Paints) · Spray
Vallejo · Surface Primer
Filling gaps and seams
Where two printed parts meet, or a layer has a gap, sandpaper alone will not level it. Two fillers do most of the work:
- Modelling putty, the two-part epoxy kind or a one-part filler, pressed into the seam, smoothed with a damp tool, and sanded once hard.
- Superglue with filler powder: run superglue into the gap and sprinkle the powder over it. It sets hard almost at once and sands like plastic, which makes it quick for small seams.
Our glue guide covers which superglue to use on PLA, PETG and resin.
How to smooth 3D prints without sanding
- Filler primer, as above, does much of the smoothing for you.
- A brush-on filler, such as a brush-on primer and filler, can level a textured surface. It softens fine detail too, so keep it to flat panels.
- Acetone vapour smooths ABS and ASA by melting the surface slightly. It does not work on PLA. Acetone is highly flammable and its vapour is harmful, so only do this with the equipment and ventilation the safety data sheet calls for.
- Print settings: a lower layer height leaves smaller layer lines to begin with. Our nozzle sizes guide and the filament temperature chart cover the settings side.
Sanding resin prints
Cure a resin print fully before you sand it: uncured resin is sticky and is not safe to handle bare-handed. Our curing guide covers washing and curing. Then:
- Sand wet, and wear a mask. Resin dust is a fine powder you should not breathe in.
- Wear gloves, in case any part of the print is not fully cured.
- Most resin prints need little sanding beyond the support marks, because the layer lines are much finer than on a filament print.

Combined UV curing and IPA/water washing station for resin prints, current flagship model
ELEGOO
Questions
What grit sandpaper should I use for 3D prints?
Start at 120 to 240 grit for support marks and blobs, move to 320 to 400 for layer lines, then 600 to 800 before priming. Go finer only for a gloss finish.
Should you wet sand PLA?
Yes. Dry sanding heats PLA until it softens and smears. Prusa says PLA sanding needs water cooling, so use wet-and-dry paper and keep it wet.
How do you smooth 3D prints?
Sand through the grits, then spray filler primer, sand it back and repeat until the layer lines no longer show. ABS and ASA can also be smoothed with acetone vapour; PLA cannot.
What is filler primer?
A thick primer that fills fine scratches and layer lines. You spray it, sand it back, and the filler stays in the low spots.
Can you sand resin prints?
Yes, once they are fully cured. Sand wet and wear a mask and gloves, because resin dust should not be breathed in.
We describe the conventional method and the makers' published guidance, and compare prices at the shops we track; we have not used these products ourselves.